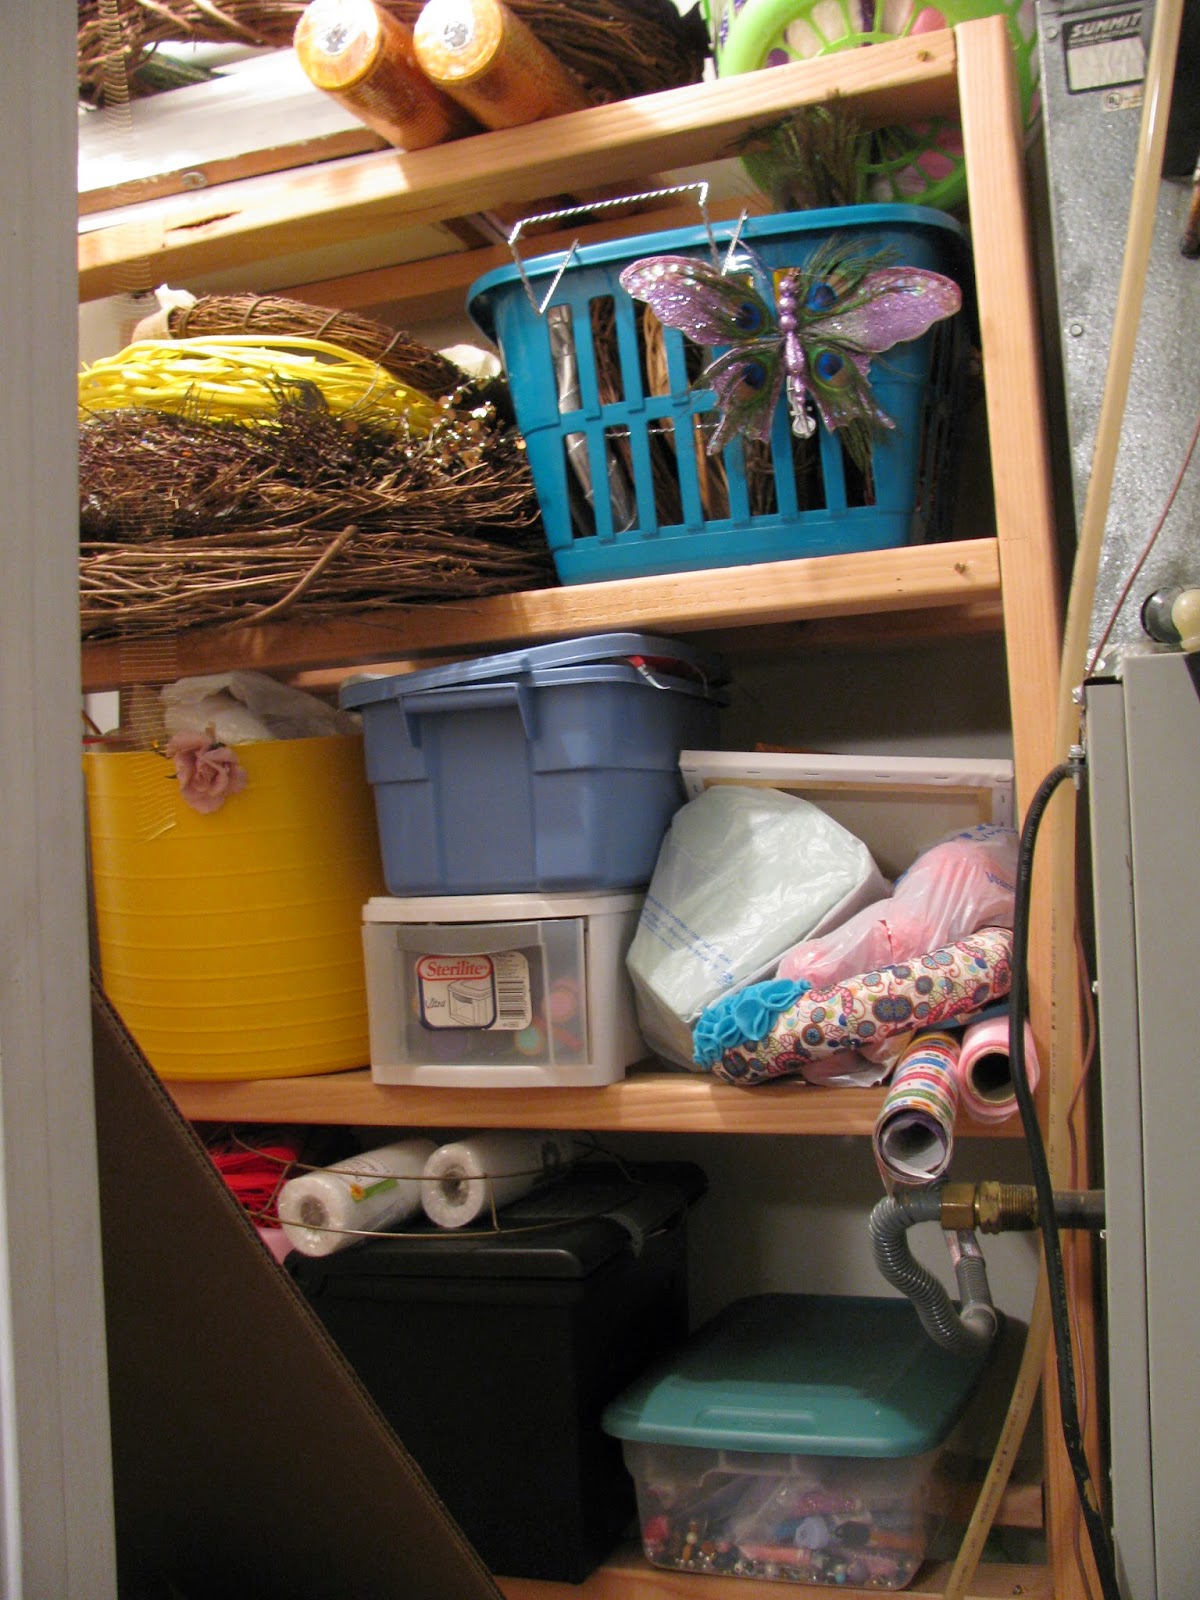
A couple months ago I taught a class for the women at my church on organization. I love organization and having things in order, so I wanted to help inspire others to be that way too. Some of the ladies joked that I probably didn't have any space in my home that wasn't organized. It's almost true, pretty much every space is organized, but organization is an on-going process. You have to keep it up, or you'll end up right back where you started. Case in point, my craft closet.
Now, it wasn't horrible, but it was pretty bad. I had gotten into the bad habit of just laying stuff inside and shutting the door, telling myself I would put it back in it's correct spot later. But 'later' never came. I realized that the problem was that I didn't have a clear system of of organization, that's why I was just throwing stuff in. So, I set out to correct the issues. I followed the simple 4 steps of organization that I had shared with my class of ladies.
1. Take everything out
2. Clean it
3. Sort it
4. Put it back (in an organized manner)
The 'before' picture!
Like I said, not a total mess, but pretty chaotic.
My craft closet is in our laundry room. It's actually the closet for the hot water heater, but there is enough room for storage too. My husband built shelving a couple years ago for his hunting supplies, but after he moved that stuff out, it became my craft closet. It works great because my craft table is in the laundry room too. So, everything is reachable when I'm crafting. :)
I found these shoe box sized plastic bins at Wal-Mart for only 94 cents! These are much more durable than the dollar store version, plus they're a few cents cheaper. I bought 10, and ended up only using 7.
Like I told the ladies in my organization class, the first step is to take everything out.
Step 2 is to clean it! I took the vacuum cleaner extension and cleaned the floor. But you know how glitter is, I couldn't get it all up, no matter how hard I tried.
It is amazing what all can fit into such a seemingly small space.
As I was pulling items out, I realized that this 1 bin was the source of my frustration, and the reason why I often didn't put anything back. Most of the small stuff was just thrown in here, in no sort of organized manner, so of course I wasn't putting things back because they were just being thrown in a bucket.
Step 3 was to sort it! I went through everything and ended up with a couple bags of things to get rid of. It's so hard to get rid of crafting supplies because you never know when you'll need something. I also put some seasonal items in the attic.
Step 4 was to put it back in an organized manner. I used my new plastic bins to organize all the little stuff and keep 'like' items together.
After I had all my items in their organized bins, I made labels to put on the bins so I would know exactly what I had in each one.
I used Microsoft Word to make the labels. I made a 2 column table and printed it out on bright paper. Make sure you use a large, bold font so you can see it clearly. I also made labels for the organization tray on my crafting table that holds highlighters, paperclips, etc.
I just used clear packing tape to attach my labels, that way in the future if I need to change the label, I can just peel the tape away and be left with a clean slate.
Now, with the combination of the clear boxes and labels I should be able to find anything I need easily and put it back in the right spot.
For my felt, material, and scrapbooking paper I used hanging file holders to keep everything in order. So now I won't have to dig to the bottom for the 1 piece of blue felt I need.
I had file folder I used to organize the paper, but they were just falling over. The hanging file folders fixed that quickly and made it look much more organized.
Now my craft closet is much more organized! I know where everything is, and I can get to it! I was also reminded of all the crafting supplies I have and it just makes me want to start crafting something new!


